Martin Rapier and I managed to get though another
C&C N scenario last night at the Sheffield club. Historically, Vimiero took place four days after Rolica and saw a French army (actually a small corps) under Junot try to defeat the Anglo-Portuguese Army before it could be reinforced.
As usual I'll let the photos do most of the talking. All are taken from from the French side of the table - following his success commanding the French at Rolica, Martin had swapped sides for this game.
 |
| A French battalion in the centre sector - these guys never made it into contact. |
 |
| Part of the French left - light (left) and line battalions led personally by General St. Clair. |
 |
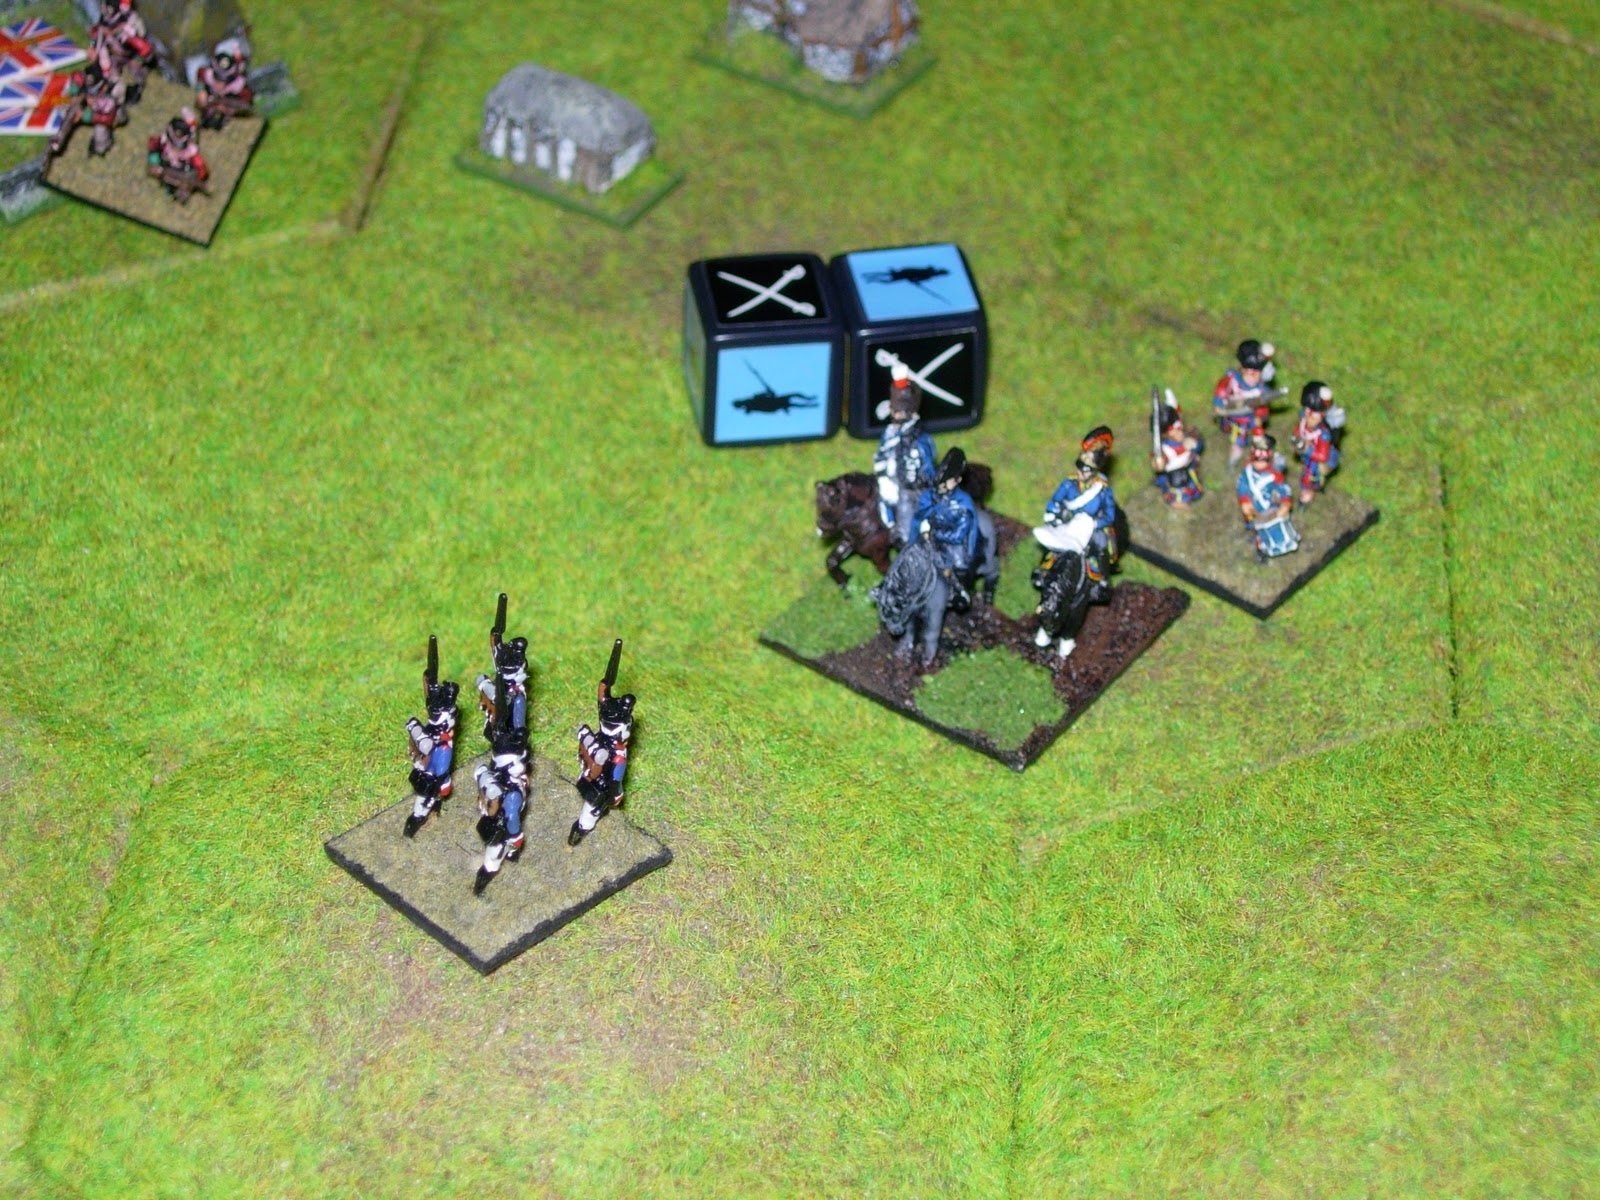
| This photo is taken from just to the right of the previous shot and shows a further line btl, while light (centre) and heavy cavalry surge toward the Brits on the hill. |
 |
| On the right, meanwhile, two French battalions (line - left and lights) advance on the village of Ventosa... |
 |
| ...and are given a very rough time by the defenders - the line battalion has retreated and both have lost two stands. |
 |
| Staying on the right wing - the first heroic French cavalry charge - the Hussars kill 2 (out of 3) steps on the guns before the surviving gunners, having loaded with rusty nails, blow away two cavalry stands. Sacre bleu! |
 |
| At the same time on the left, the Hussars and Cuirassiers we saw previously have also charged guns and inflicted two-thirds casualties. They were them promptly blown away by the British guns and musketry. |
 |
| The surviving Cuirassiers then overrun the guns and contact the battalion on the next hill. There is much carnage. |
 |
| The Hussars on the right flank are subject to continual musketry. Here the frustrated Brits fail to score a hit - possibly because the Hussars are hiding behind that tree. |
 |
| Back on the left - French musketry has swept the hills clear. |
 |
| An overview of the centre and left - the three French battalions in the previous shot are centre left in this one. |
 |
| Centre and right - after the earlier excitement little else happened on the right. |
 |
| The hills before Vimiero - the French finally manage to get troops up the slope.... |
 |
| ...and bitter fighting ensues. Gen. Fane survives, however (two swords would have killed him). |
 |
| The French centre finally begins to advance... |
 |
| ...but the Brits have recaptured the hills. Merde. |
 |
| On the right a lucky shot finally does away with the surviving stand of Hussars, giving Martin his sixth and final victory chit. Merde again. |
This was a very entertaining game, and seemed to flow a lot more swiftly as we now have a better grasp on the mechanics of
C&C N. Total playing time was about an hour and a half, with a further half hour (in total) to set up and pack away.
One thing this scenario did teach me is that I need more 1 and 2-hex hills - I must buy some. All of which reminds me - I will be visiting Vapnartak (
http://www.yorkwargames.org/Vapnartak.htm) in York this Sunday, along with Wg Cdr Luddite. Will any other readers be there? Do let me know.


4 comments:
Good stuff - had a crack at Corunna with the chaps yesterday. The honours were even and it was mainly an infantry fight with neither horse nor guns putting on much of a show.
Conrad
Did you use your 2mm toys? I'd be interested to see photos.
Epic stuff!
Sadly no as one of the players was a first timer and asked if we could use the blocks, just until we got a handle on the units.
I should set it up though and see if I have sufficient figures for that set up.
Post a Comment