Firstly, thank you for the comments and questions resulting from parts
one and
two.
The gesso having dried to a nice matt finish, we can now proceed with the actual painting.
There is usually a base colour to apply, for example white for the 18thC French we'll meet in a moment or beige to represent the faded olive on these North Koreans. Slap on the base coat with a big - size 5 or so - brush.
My standard for painting is something like the
Britains Deetail range.
These WW2 Americans featured in a previous post - only the chap in the middle is an actual Deetail figure (with his original paintwork).
I ditched enamel paints back in the 1990s and now use acrylics. While I mostly use Vallejo paints, I look out for cheaper paint for the colours which I'll use a lot of . The 'Crafter's Choice' range can be found in The Works for £1 each.
While the base coat dries be thinking about the 'detail' painting. I use pretty basic references such as the splendid Funcken books
Here are some 18th Century French - the white base colour (applied over the black gesso) has been augmented by brown for muskets and packs, tan for knapsacks, flat flesh for hands and faces and in the case of this regiment, green for cuffs and tunics. They'll also get gunmetal bayonets, swords and musket barrels and black to touch in shoes and hats. All this can be done with a single brush of size 0 to 2.
The NKPA getting similar treatment.
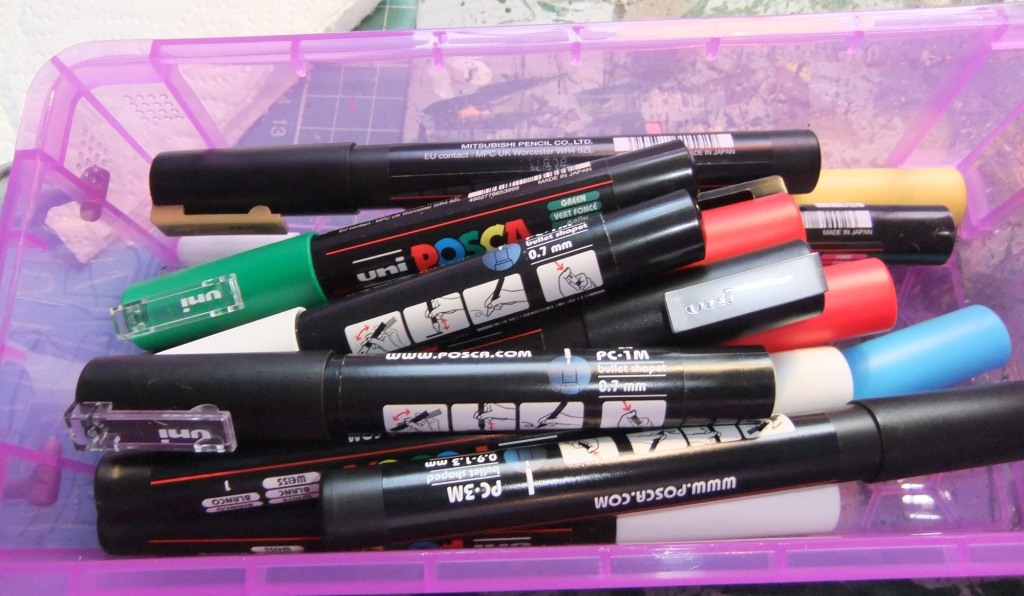
My 'trademark' touch is the mad staring eyes I give all my figures. Apply a white stripe and a dot of black. This can either be done with a fine brush and a cocktail stick, or you can cheat and use...
...paint pens. These are the lazy wargamer's friends.
A different batch of NKPA - this time in as yet unfaded uniforms.
The French again. Both eyes and the gold hat trim were added with paint pens.
The bases are now painted - I generally paint them green using Dulux matt emulsion paint. Woodland Fern 1 in fact, which I have mixed to order in a 1-litre tin.
Next - varnish and finishing.