Showing posts with label 15mm. Show all posts

Wednesday, 26 May 2021

Two evenings at Waterloo - part 2

 As the second evening of action commenced the Prussians arrived from the French right.  This finally galvanised Ney into action.

An overview of the mess.  The Allied right is being hard pressed by the French - but can the Prussians save the day?

By now Wellington was rushing troops from left to right (from his point of view) as the Dutch evaporated.

The Prussians began to edge round Ney's flank...
...and the morale chits were stacking up.

At this point I suggested that both sides consult their victory conditions.  For the French this meant having two units on the north edge of the board within 6 inches of the road to the north.
Napoleon and a pair of Guard units managed to achieve this.  

It can now be revealed that the Emperor's true objective was less the road to Brussels and more the cheap wine on sale at the Carrefour supermarket which these days is situated just off the board to the north.  Truly then have I trod in the Emperor's footsteps....


Tuesday, 18 May 2021

Two evenings at Waterloo - part 1

 A few weeks ago I ran Waterloo as a remote game for six players over two evenings.  This was prompted by the discovery on Wargames Vault of Evening Napoleon by Alex Trumier.  I think the download set me back about £5.

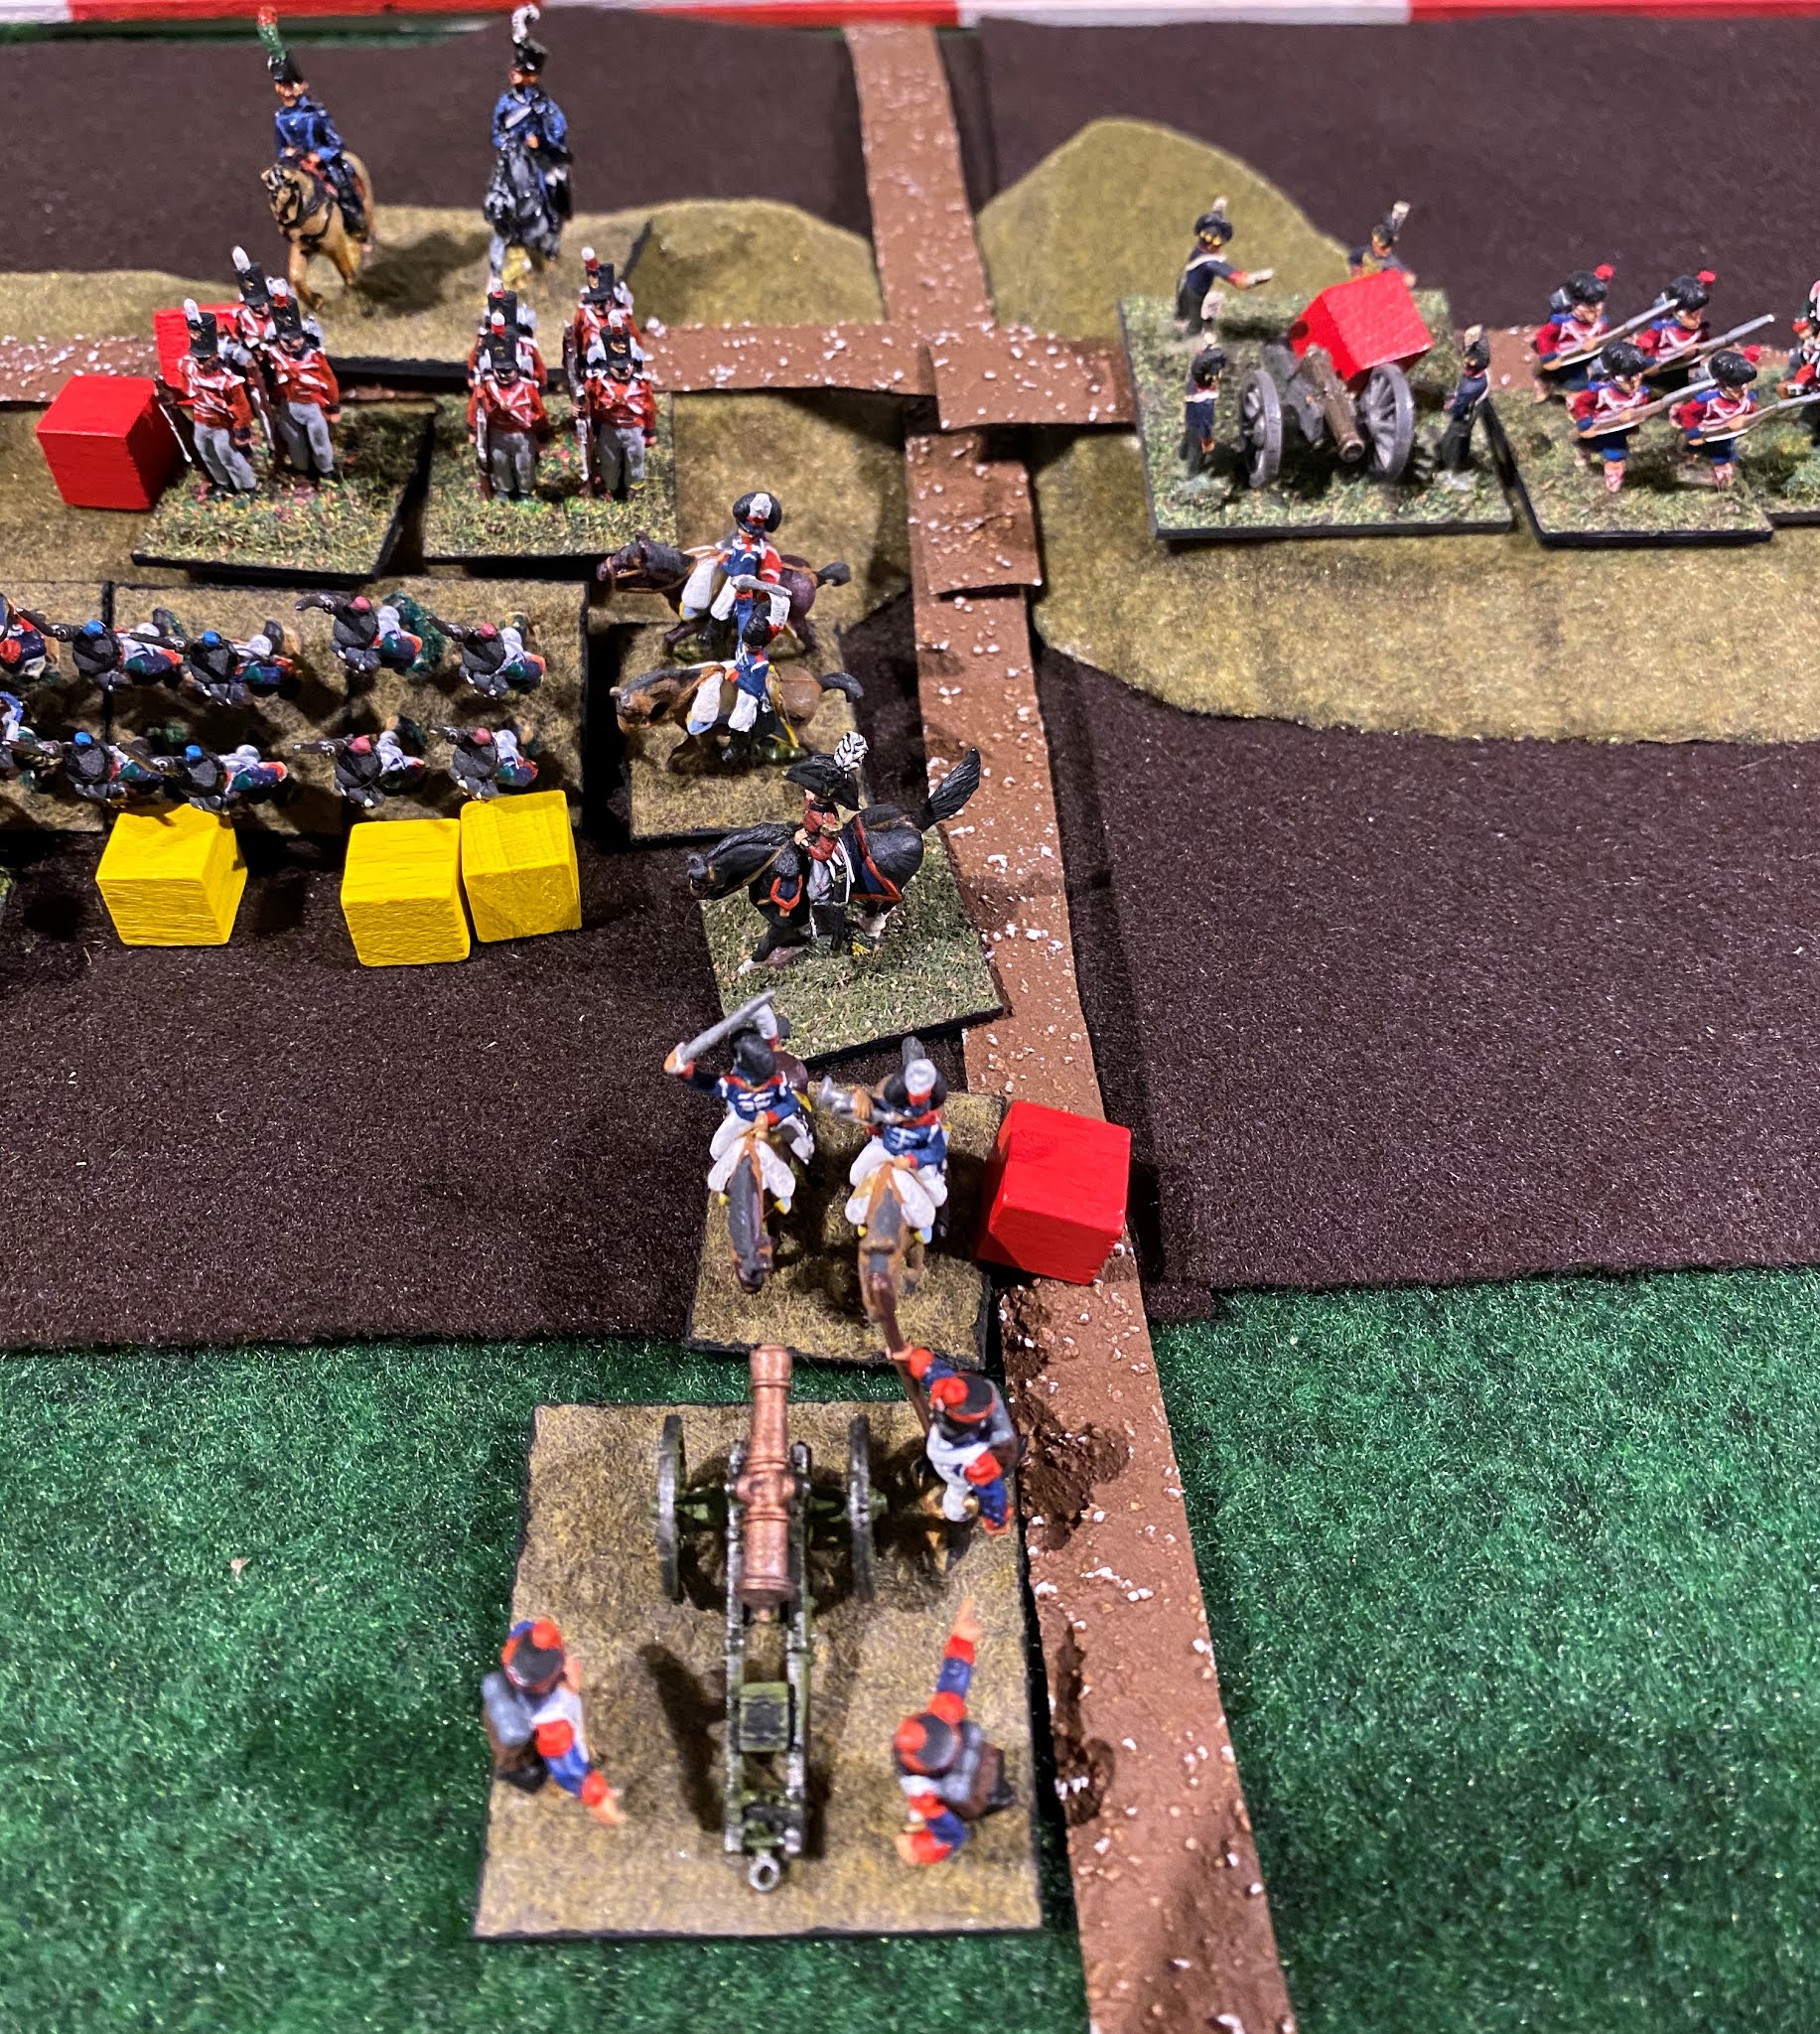
I had played through a few turns of a game some months previously and so was completely confident* that all would go smoothly.  Above is the table setup with the French deployed - the playing area is 2x2 feet!  Toys were all from my collection of 15mm.


The Cast List:
Wellington - Tim C
Picton - Pete
Prince of Orange - Mark
Napoleon - Simon
Ney - Jerry
Grouchy - Martin (he was away on holiday...)
Blucher - John
and of course...

Both sides are now deployed.  The dark brown area marks the lower slopes of Mont St. Jean, the green hills the top of the ridge line.  The three built up areas are (from left) Hougoumont, La Haye Sainte and Plancenoit.  The coloured counters at this time mark the deployment/arrival areas of the Allied (yellow), French (green) and Prussian (red) armies.  In subsequent photos the markers are morale chits.  Nasty things.

The initial French assault on MSJ.  The Guard are following up.

French cavalry on the right.  They were strangely inactive in the early part of the game.
The armies getting stuck in.  By now Wellington is about to send the Dutch/Belgian Div to his right flank.
The Emperor wondering if it's time to commit the Guard.

A desperate British cavalry attack on French artillery.
The Prince of Orange (top left) leads his men in person.
Morale chits continue to proliferate!
Cavalry aside, the French force was by now fully committed.  So who would show up first - Blucher or Grouchy?


Sunday, 24 November 2019

Setting Europe ablaze

A few weeks ago John ran this game and also provided all the figures and terrain. It concerned a Commando raid on a German communication installation on the Brittany coast. Jerry and I commanded the raiding team - what could go wrong?
Above - our team of elite diehards.
Jerry (right) and I posing for what might be our last photo.
Having been cast adrift by an MTB some distance out to sea, we set off in our wee boat - hand carved by John. Despite tides and a degree of navigational incompetence we stepped ashore more or less where we’d hoped.
After we landed things moved very quickly and I forgot to take photos for a few turns. In short, we eventually overcame the pair of guards at the checkpoint (left) although one fought savagely and wounded two commandos.  Meanwhile the rest of us crossed the wire  - we made Jerry lie on it and ran along his back!   A brief gunfight quelled the chaps in the communications hut and having secured some prisoners we placed timed charges and headed off. The bangs nearly started early as it was later revealed that our escape route had taken us through a minefield!  But we got away with it and as the boat set off the silence of the night was profaned by a series of explosions. More than were strictly necessary as it happens, but no sense in taking unused charges home, was there?
Europe ablaze. Well a bit of it.

Tuesday, 19 November 2019

Battered bargain bunkers belatedly bodged

I picked up this trio of 15mm resin bunkers at a bring & buy last year. I didn’t particularly need them but their cheapness won me over. They then languished on a shelf until their luck ran out last weekend when I decided to attend to them.
As I intend to use them as small bunkers with 54mm figures (that howl you heard was the ‘proper’ wargamers expressing their outrage...) I removed the French tank (R-35) turrets which all three sported and added a couple of cupolas I had kicking about. Next I re-painted and stuck them onto hardboard bases - one raised on an ‘embankment’ carved from 1-inch insulation board. Finally I drilled holes and glued in half-matchsticks as posts for the barbed wire.
When the paint dries I’ll take a couple of photos with figures. So stand by for further howling.
Added 20/11/19 - at Nigel’s suggestion (so don’t blame me) I’ve added a pair of staring eyes in the cupola vision slit. Clearly, this is intended for a very serious wargame....

Thursday, 6 June 2019

Pegasus Bridge - Operation Deadstick

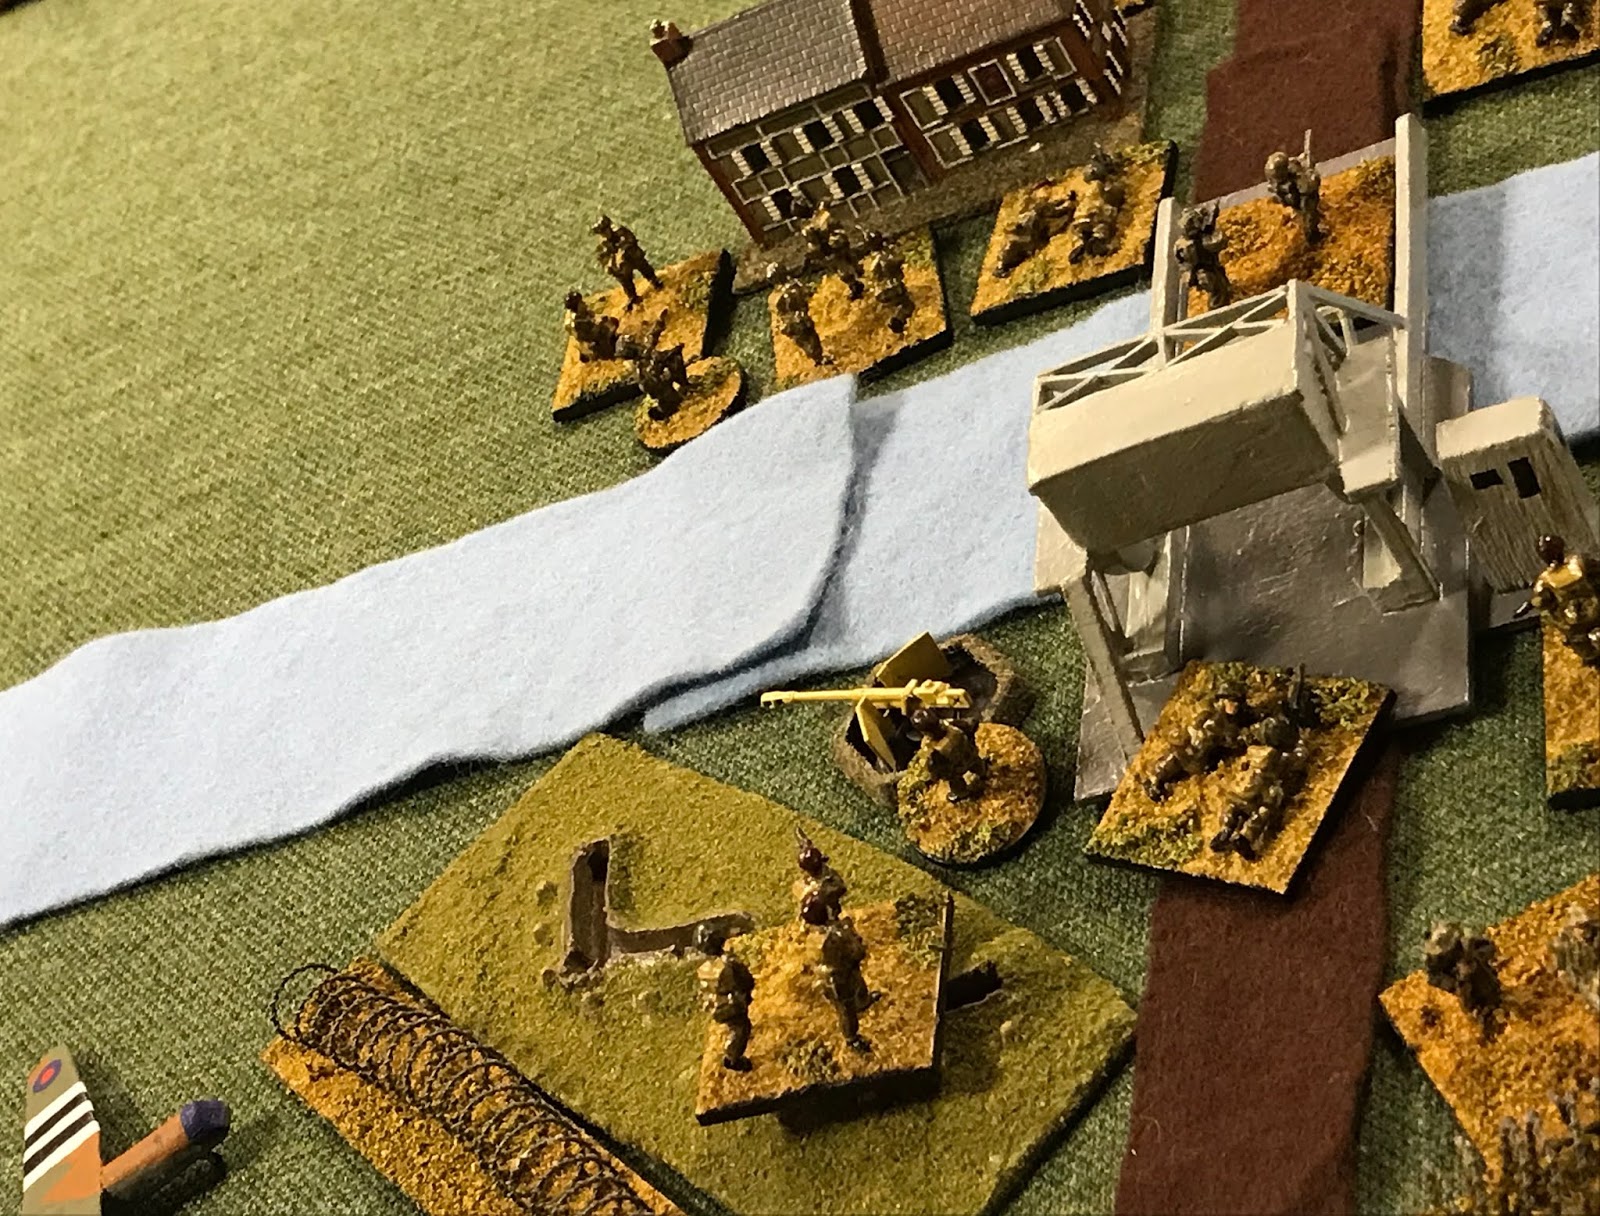
As many readers will know, Sheffield Wargames Society meets on a Wednesday.  Therefore our nearest meeting to the D-Day anniversary was last night (the 5th).  John had prepared a game about the assault on Pegasus Bridge and had even gone to the trouble of scratchbuilding both the bridge and the local chateau in 1/300 scale, with the rest of the toys from his 15mm collection.  Our briefings were based closely on the information provided to Major Howard, the CO of the operation.
We had six Horsa gliders each carrying a small (c20 man) platoon and a 5 man Royal Engineer detachment.
 John ran the game.  The players were me, Richard and (in the photo) Jerry, Tim C and Martin.  John, Jerry and Martin sported very smart red berets.  Lacking such headgear, I wore my Catering Corps beret. 
I'm no good in a fight but I make a great pot of tea...

See also Richard's report here.

To keep things simple we numbered our platoons 1-6 and allocated missions for each.  Everyone was. however, briefed on all of the missions so platoons could be easily re-ordered once on the ground.  If we survived that long.  The landing would take place in pitch darkness.
To help with orientation, most of my photos were taken from the NE corner of the table.
The missions were:
1. Take the bridge(!), sappers to neutralise any demo charges and make safe.  (1 Plt - Jerry)
2. Take the pillbox N of bridge (suspected to be the control point for the demo charges).  2 Plt (me)
3. Clear the East Bank  (3 Plt - Richard)
4. Secure the defensive works  (5 Plt - Tim C)
5. Take Ranville Bridge (just off-table on the road to the East) (4 & 6 Plts - John & Martin)
First though, we had to build and land our gliders....
1 Plt and Maj Howard prepares to land (the white pipe cleaners mark the LZs - 'X' in the South, 'Y' in the North.
 And he's down.  A well-aimed landing by Jerry!
 Richard's 3 Plt touches down
 Tim C's 5 Plt lands
 A couple of photos now on my own creation which, if I say it myself, flew and landed beautifully!
I even added some 'period' markings...
 All 5 gliders (1/300 models provided by me) on the ground.  Only five?  Well yes.  4 Plt was last seen heading well to the East....
 My toys, so I chose the artistically crashed model.  These Horsas have been around since the mid-1980s and were originally owned and painted by my old friend Scott P.
 We stumbled out of the gliders...
 ...and got ourselves organised for our missions.
Some German MG42 fire was swiftly dealt with (the chaps on the far side of the canal) and many of the foreign (Italian, Polish etc) conscripts fled.
 The East bank and the bridge were quickly secured, and a platoon pushed forward to secure the west.
 As we sorted out a defensive perimeter, noises were heard.....
 ...and a couple of tanks rumbled very slowly down the road towards us.  While each glider had been loaded with a PIAT and a stock of Gammon Bombs, only two of the former had survived the landing and none of the latter could be found!
 After some anxious moments the fourth(!) PIAT round struck home.  Having all the players shout 'twang' seemed to make all the difference to the die roll.  (The PIAT being a spring-powered device).  The other Panzer buggered off at this point and we settled in to await the arrival of 6th Airborne Div and/or Lovat's Commandos.
 A German patrol boat appeared from the North and was dealt with.  Then as it git light we came under distant sniper fire.  The captured AT gun next to the bridge was brought into action but shelling the chateau led to no slacking of sniper activity.  A couple of rounds at the nearby water tower seemed to do the trick though!

 Eventually British armour appeared from the North and Lovat, led by his piper from the East.
Our work here was done.  A well-researched and run game from John, helped enormously by the good-natured role playing of the players.
Our own very modest contribution to the D-Day commemoration.