Friday 29 March 2019

Blasthof Bridge

Or 90 minutes, 80 figures and 5 players.
You may recognise the name of the battle - it was the first of the scenarios in Charge!
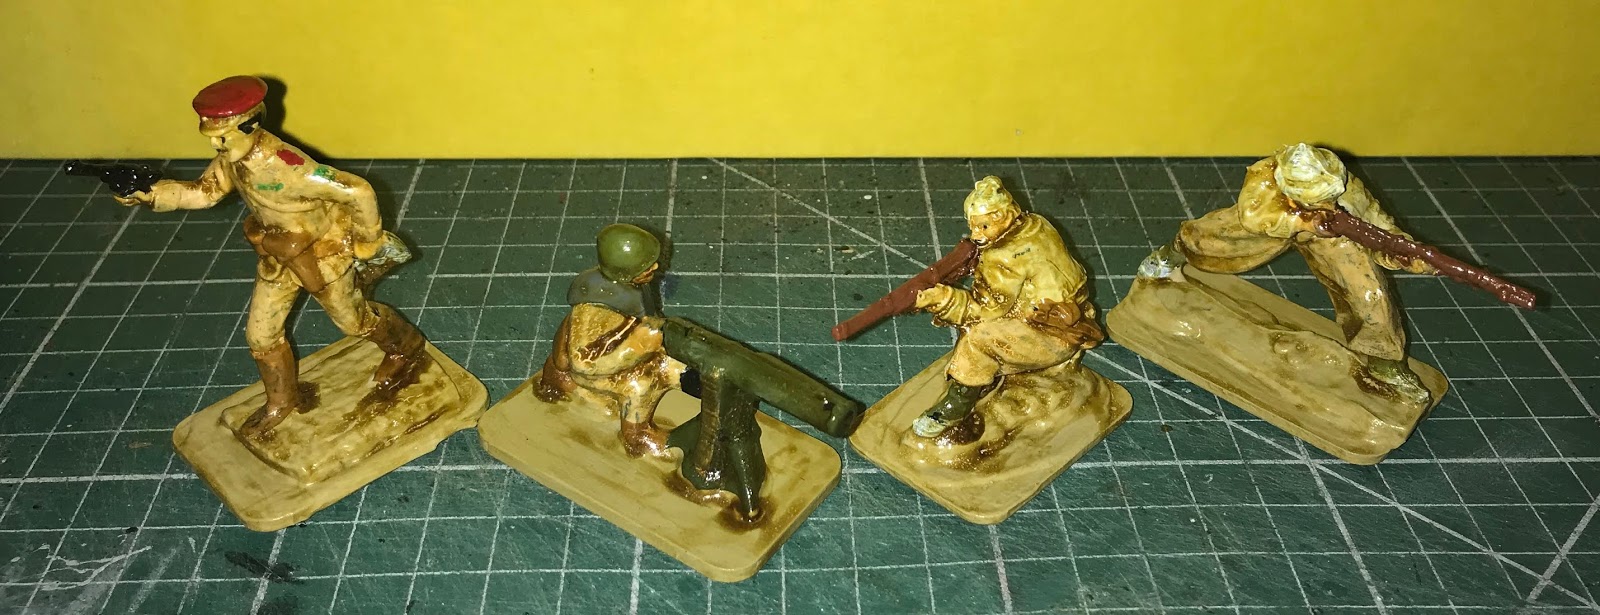
For the game I assembled a selection of 54mm toys and four players to shove them around.
Tim C and Richard led the Elector's forces while John and Martin represented the Empire.
In brief, the Elector's forces had to deny the bridge to the enemy while trying to blow it up.
Above - the Electoral Army.  Below - The Imperialists.

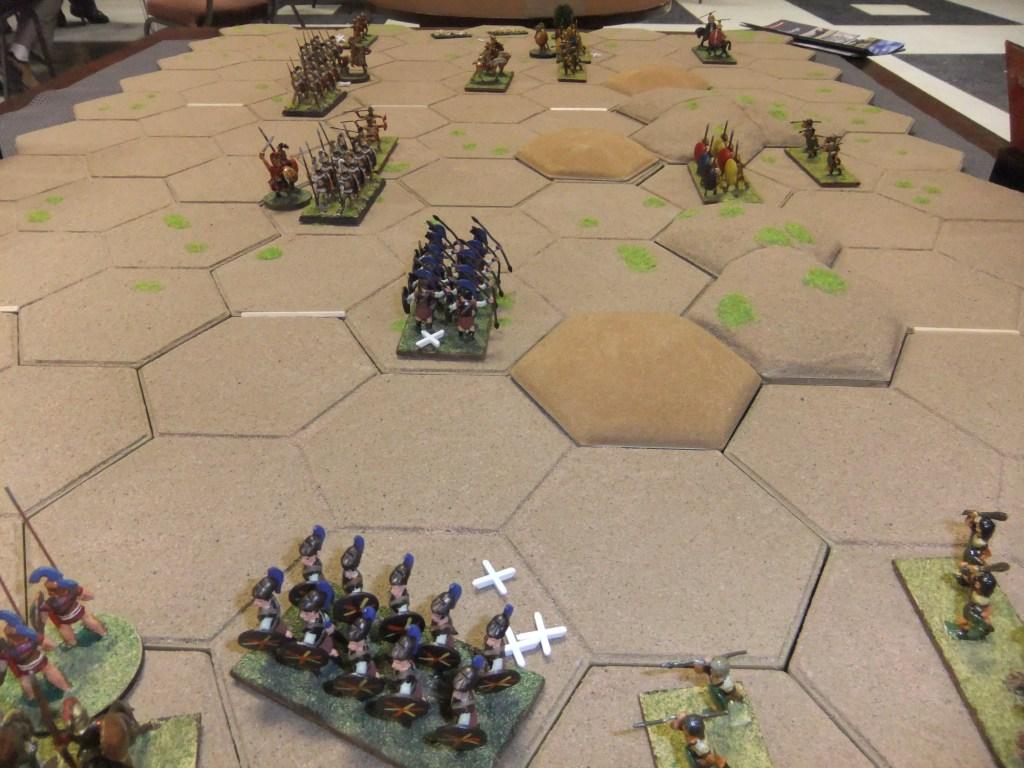
The field of battle.  All 7x5 feet of it.  (photo by Martin Rapier)
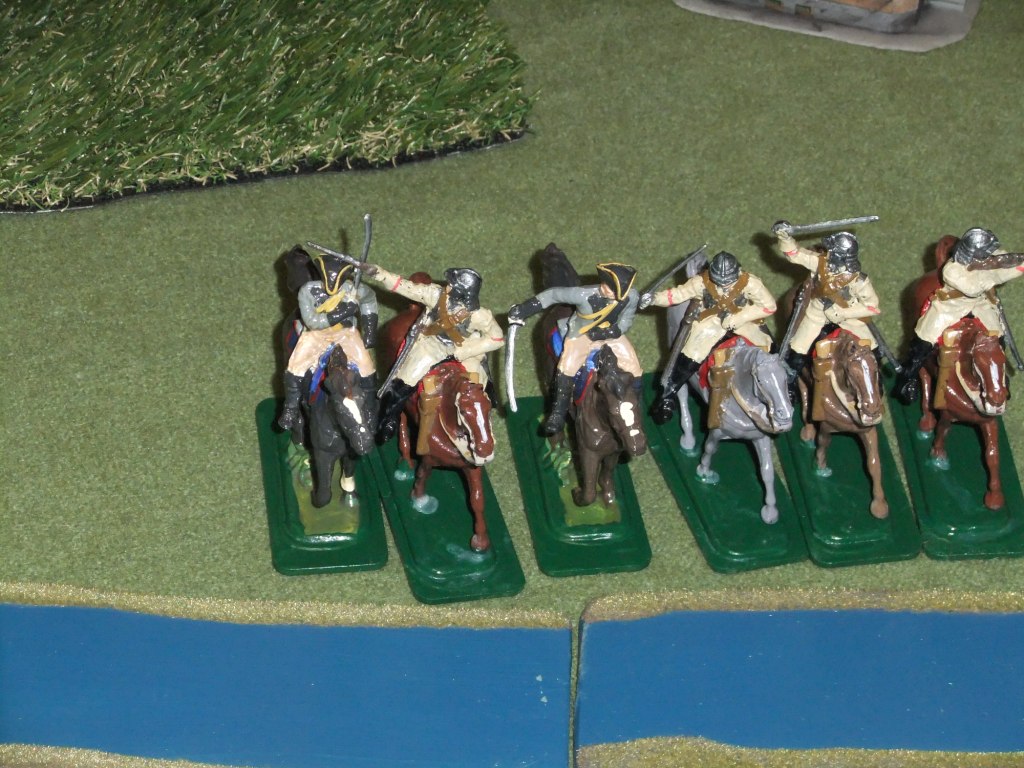
 The Imperial cavalry set off at the trot...
...while the Elector's dragoons crept down the other flank.
 The armies formed up and a brisk exchange of fire followed.

The Imperial cuirassiers (right and below) had a think about crossing the stream but decided against it.  Wise fellows!

 In the centre, Imperial infantry saw off (just) the Elector's dragoons
Electoral artillery in action.  I'm not sure if the gun captain (right) is giving an order or expressing an opinion. (photo by Martin)
 Electoral artillery laying down a barrage of (pretty ineffectual) fire.
 Having trotted round behind their infantry, the cuirassiers splashed across the stream...

...and got stuck in to the dragoons.  The latter soon fled and the cuirassiers 
chased them - never to be seen for the remainder of the game.
Endgame.  The armies had fought themselves to a standstill. and an honourable draw was agreed.  The Elector's sappers, meanwhile, had tired of dodging gunfire while carrying barrels of gunpowder and skulked off to the pub...(photo by Martin)

My thanks again to all of the players, and especially to Martin for the use of his photos.
The toys are mostly plastic figures by BMC, ACTA, Armies in Plastic and Imex.  The senior officers on both sides are metal castings of unknown origin.  Many of the plastics came from Portland Little Wars.

Monday 25 March 2019

WW2 Soviet AT team - part 1

While painting the recent batch of North Koreans - which could equally well serve as WW2 Soviets - my thoughts turned to the battalion support weapons.  While soft plastic infantry Russian figures armed with rifles, SMG and even LMG are easy to come by, heavier weapons are in short supply.  A quick internet search turned up this useful looking set from Tamiya which contains not only an AT rifle but also a wheeled Maxim gun.  

As is usually the case with Tamiya kits, the instructions are clear and the mouldings crisp.
In little over 40 minutes I had assembled all five figures, along with the Maxim and two AT rifles (the latter just off-camera).

The Comrades are now bracing themselves for an assault from - not the Germans, Americans or even the Japanese - but my paintbrush!  Such is the horror of war.

Thursday 21 March 2019

1/32 North Korean Peoples' Army


These chaps recently arrived from their maker - Classic Toy Soldiers in the USA.  "Why" I hear you ask "do you need such figures?"  As always with such matters, 'need' is a word open to many interpretations.  But here they are.

 Just to prove that before I set about them they were rather nice figures - here they are after cleaning and basing on my usual mdf bases.  The bag contained 16 figures in eight poses.
 
 After painting - I went for a faded khaki look - the comrades were finished off with a coat of Ronseal satin light oak varnish.

 I particularly like the chap with the DPM LMG - he really looks as if he is carrying some weight.  Having once had to carry a (replica) MG-42 up a hill I can feel his pain.
Time to dust off the TF Smith scenario again, methinks.....

Friday 15 March 2019

1/32 SCW - Spanish Foreign Legion

My Foreign Legion figures were all bodged from Airfix Commandos.  The er, 'conversions' involved:
1.  trimming their caps into the shape of the Spanish 'Gorillo' side cap, with red piping added with a paint pen.
2. Carving off water bottles and ammo pouches (don't try this with the more recent harder plastic Airfix figures!)
3. Adding blanket rolls and knapsacks made of Milliput.
4. Er, that's about all!  Like all of my figures, they're best viewed from a safe distance...


Sunday 10 March 2019

1/32 SCW Nationalist Regulares

Continuing with my Nationalist forces are those stalwarts of the Spanish Army of Africa, Moroccan Regulares. As with the other figures, these have been bodged from other nationalities and eras. In fact there’s not a Moroccan or indeed a Spaniard among them!
The chap with the flag began life as a HAT ACW Zouave. His rifle was carved away and a blanket roll added, then his hands were drilled to accommodate a brass rod flagpole.
From left to right (which could be, in itself, a summary of the conflict) : the officer is from the Armies in Plastic 1916 Germans set with a ‘paint conversion’.  The machine gunner is an old hollowcast with a head from a WW2 US figure - the latter from one of the cheap Chinese sets mentioned in previous posts. The rank and file were my starting point and are in fact Replicants ACW zouaves, with their muskets shortened and waistcoats trimmed to look less flamboyant. 
The Moroccans share a box with the Foreign Legion. More on them soon.

Monday 4 March 2019

Delium 424BC

Last Wednesday we continues our chronological canter through (most of) the available Command & Colours Ancients scenarios.  The Peloponnesian Wars continued with the Battle of Delium between Athens and Boetia.  The Athenians were led by John A and generally appear on the left of the photos.  The Boetians were commanded by Tim C.  I ran the game and provided all the toys from my accumulation of elderly 25mm metal.
Above - Pagondas can be seen at the head of his Thebans near the top rightish of the photo.  Hippocrates (left) leads the Athenians.

 Figures were from several manufacturers - I'll let you spot and guess for yourselves!

 Pagondas opened the batting on his left  - which is bottom right in the photo....
 The Athenians soon responded and a load of Hoplites clanked forward.
 Pagondas rolled some astonishing dice - this lot eliminated a unit of Athenian Hoplites in one go!
Soon the centre and right (from the Boetian point of view) were heavily engaged and the casualty markers soon stacked up.
 This soon thinned the ranks!
 The Boetian Hoplites on the left were soon in action again and destroyed this Athenian peltast unit.
 By now it was all still to play for - the Boetians seemed to have the upper hand on the right while the Athenians looked stronger in the centre.

Hippocrates led his own troops in combat and another sudden death occurred - another pile of empty Boetian helmets!
 The sector nearest the camera had degenerated into a scrappy mess.  At this point it could still have gone either way.

The end.  Hippocrates found himself beset by enemies and perished at the head of his troops - clinching a hard fought and generally historical victory for Pagondas.